![A way to trade All Margins in Google docs [FAQ]](https://blog.hubspot.com/hubfs/change-margins-google-doc.jpg#keepProtocol "A way to trade All Margins in Google docs [FAQ]")
MY NUMBER 1 RECOMMENDATION TO CREATE FULL TIME INCOME ONLINE: CLICK HERE
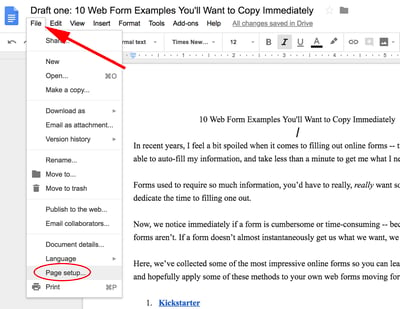
When working on a project with Google Docs, you may need to change the default margins, and if you’ve never done it before, learning how to change all the margins in Google Docs can seem complicated.
If you want to change only the left and right margin space, simply click and hold the small blue triangle to the left and right of the ruler at the top of the Google Doc and drag it to a different position (it’s important to note, drag the blue triangle, not the rectangle just above it. The rectangle on your ruler changes the paragraph indentation, not the margins.)
This is useful if you need to change the left and right margins, but what do you do when you need to change all the margins at once?
![→ Access now: Google Sheets Templates [Free Kit]](https://no-cache.hubspot.com/cta/default/53/e7cd3f82-cab9-4017-b019-ee3fc550e0b5.png)
How to Change All Margins in Google Docs
1. Navigate to Page Setup
Go to folder > Page settings. This will allow you to set parameters for your document, including orientation (portrait or landscape), paper size, and custom margins.
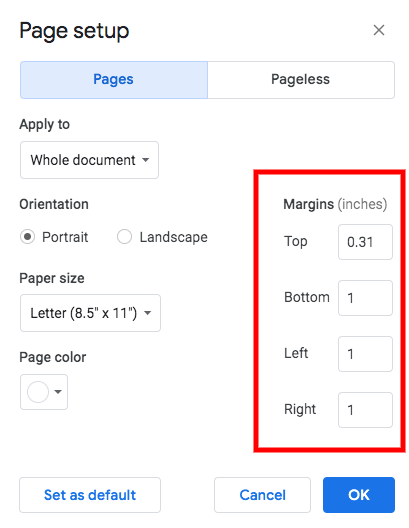
2. Enter the margin size
In the text box next to top, bottom, left, right (below margin), enter the margin size. You may want to try a few different sizes first to see which one works best for your document. Don’t worry, you can always go back and change these settings.
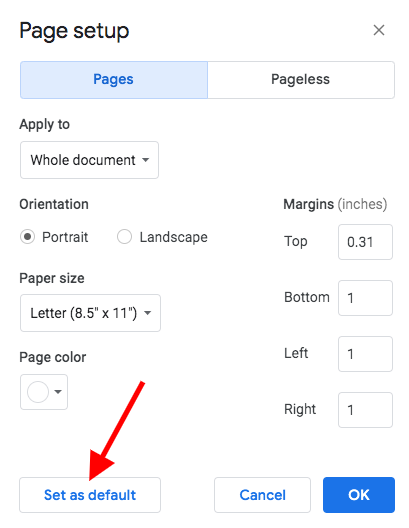
 3. Click “OK”
You can also click “Set as default” if you plan to use borders often. This will set your Google Docs account to use these margin settings every time you create a new document. If this is just a one-time fix for that particular document, it’s best to ignore the “set as default” button.
And that’s that! Hopefully this will help you create more customized Google Docs to suit your needs.
Editor’s note: This post was originally published in [Month Year] and has been updated for completeness.

MY NUMBER 1 RECOMMENDATION TO CREATE FULL TIME INCOME ONLINE: CLICK HERE