MY NUMBER 1 RECOMMENDATION TO CREATE FULL TIME INCOME ONLINE: CLICK HERE
Do you want to add custom fields to your WordPress comment form?
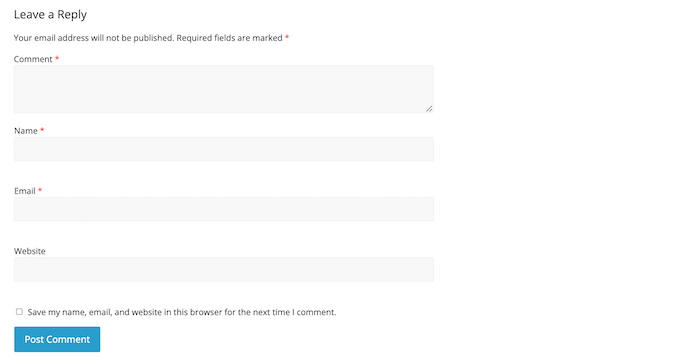
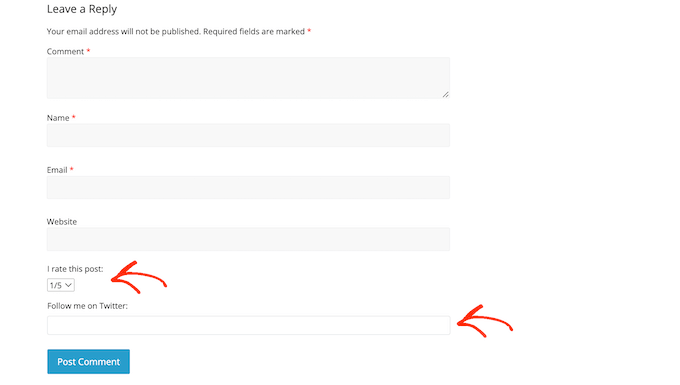
The default WordPress comment form has four fields (Name, Email, Website, and Message). But sometimes you may want to add other fields like rating, checkbox option etc.
In this article, we’ll show you how to customize your WordPress comment form by adding custom fields.

Why Add Custom Fields to a WordPress Comment Form?
By default, the WordPress comment form asks for the visitor’s name, e-mail address, and website. It also has an area where people can enter their comment and a checkbox that visitors can use to save their personal information for the next time they post a comment.
For most WordPress websites, that’s perfect. However, there are times when you may want to customize your WordPress comment form to collect more information from your visitors.
This can help you learn more about the people who visit you WordPress blogso you can give them a better experience.
Custom fields can also make your comment sections more interesting and lively. For example, you can ask visitors for information that will spark debate and discussion in the comments section of your website.
Or if you’re using comments for ratings, you might want users to add a rating to the comments.
That being said, let’s see how you can add custom fields to the standard comment form on your WordPress site.
How to Customize a WordPress Comment Form
The easiest way to add custom fields to a WordPress comment form is by using WordPress comment boxes to include.
This plugin allows you to add a variety of different fields to your comment forms, including checkboxes, radio buttons, and dropdown menus.
Any information visitors enter in custom fields will appear as part of their posted comment.
Therefore, it is a good idea to avoid using custom comment fields to collect sensitive information from your visitors.

You will need to install and activate it first WordPress comment boxes to include. For more details, see our guide at how to install a WordPress plugin.
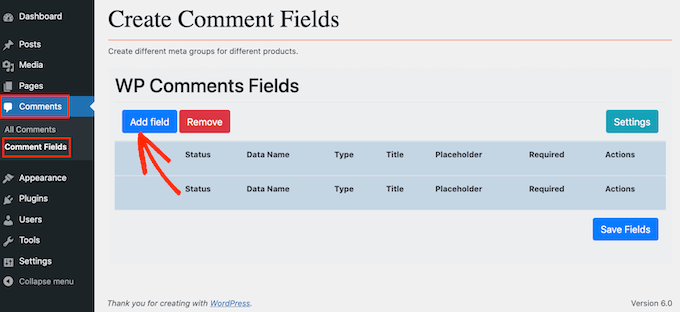
After activation, go to Comments » Comment fields. To add a custom field to your comment form, simply click the “Add Field” button.
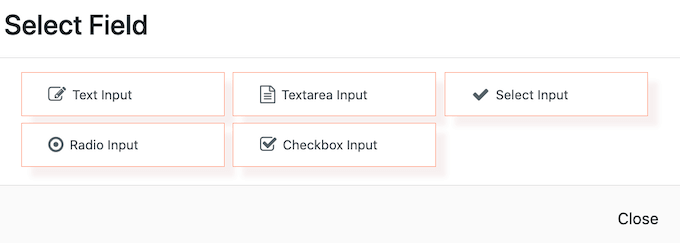
Now you can choose the type of field you want to add to your custom WordPress comment form.
Your choices include text boxes, checkboxes, and radio buttons.
Once you do this, you will see additional settings where you can configure a custom field.
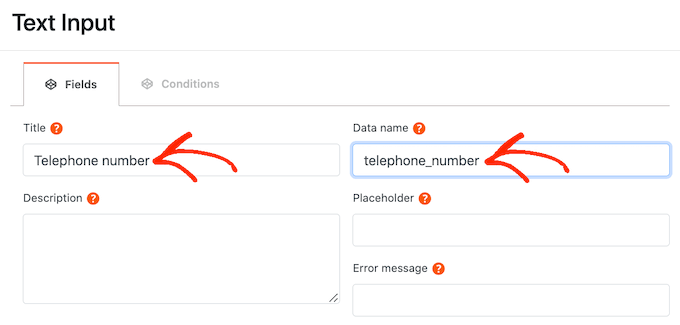
To get started, you’ll need to create a tag. This will appear above your custom comment box and let visitors know what information you expect them to enter.
You can enter your tag in the ‘Title’ field. As you type, the plugin will automatically fill in the “Data Name” field.
The data name will help you identify this information when it is used in other locations, such as in any email notifications you have set up.
If you want to use a different value instead, you can simply change the text in the ‘Data Name’ field.
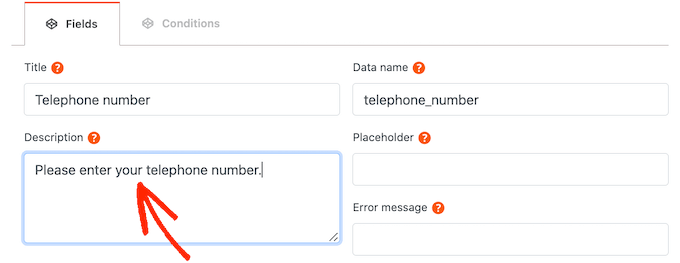
Once you’ve done this, you can enter an optional description in the “Description” field.
This will be displayed next to the field title. With this in mind, you can use the description to provide some additional information about the custom field, such as why you need this information from the visitor.
You can also set a minimum and maximum limit on the number of characters a visitor can enter in a custom field.
In this way, you can encourage visitors to enter the right information, while helping to fight spam comments in WordPress. For example, if you’re creating a custom field where visitors can enter their phone number, it makes sense to set a maximum and minimum limit.
To set these optional limits, enter your values in the “Maximum Length” and “Minimum Length” fields.

By default, everyone who visits your site will see this additional field in the WordPress custom comment form.
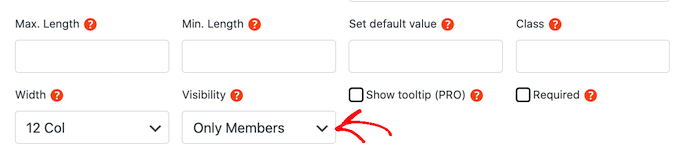
However, there are times when you may want to show a custom field only to people who have a specific user role. For example, if you created WordPress Membership Siteyou may want to show your custom box only to registered members.
To limit this box to members or guests, simply open the “Visibility” drop-down menu and click “Members Only” or “Guests Only”.
Another option is to show the custom field only to people who have a specific one user role.
To do this, open the “Visibility” drop-down menu and then click “By Role”. This adds a new field where you can enter the user role. To add multiple user roles, simply separate each role with a comma.

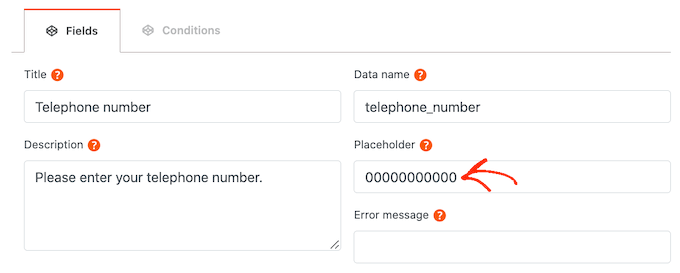
Before a visitor starts typing in a custom field, you might want to display a wildcard value. This can help people understand what information they need to enter in the custom comment field.
You can enter a wildcard value in the Wildcard field.
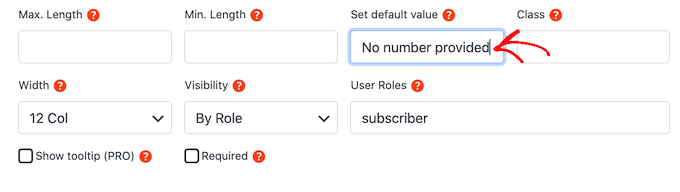
If the visitor does not enter anything in the custom field, you may want to use the default value instead. For example, you can create a checkbox that defaults to ‘opt-out’.
You can enter a default value in the “Set Default Value” field.
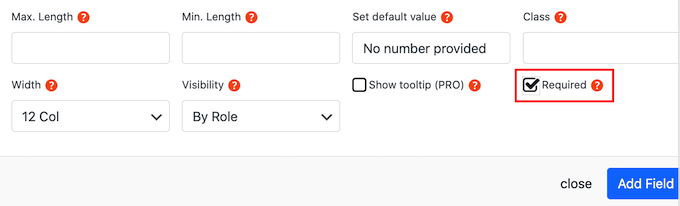
Your custom comment field is marked as optional by default. Alternatively, you can make the field mandatory so that visitors cannot submit a comment without completing that field.
To make this change to your custom WordPress comment form, simply check the “Required” box.
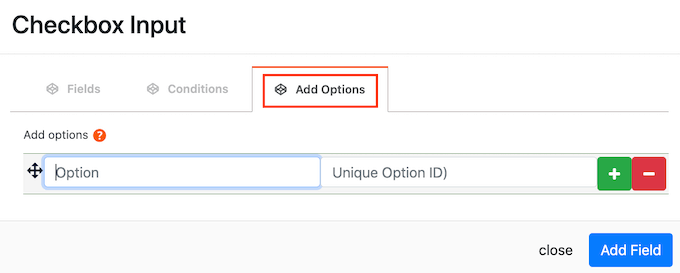
Some custom fields have additional settings that you can configure.
If you are creating a “Select Input”, “Radio Input” or “Checkbox Input” field, make sure you click the “Add Options” tab.
Here you can create all the options that visitors can choose from. For example, you can create “Yes” and “No” options for a custom checkbox field.
To create an option, simply enter the text that will be displayed to the visitor.
To add another option, click the + button and then enter the text you want to use.
You can add any number of options to your custom WordPress comment form using the same process described above.
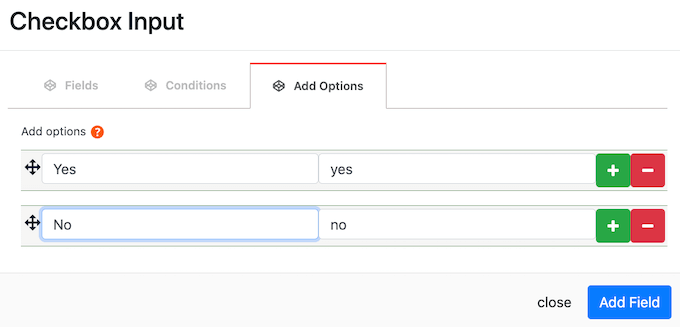
Once you’re happy with the options you’ve created, simply click the “Add Field” button.
The popup will now close and you will see a new custom field v Comments » Comment fields section of the WordPress dashboard.
You can now add more fields to your custom WordPress comment form by following the same process described above.
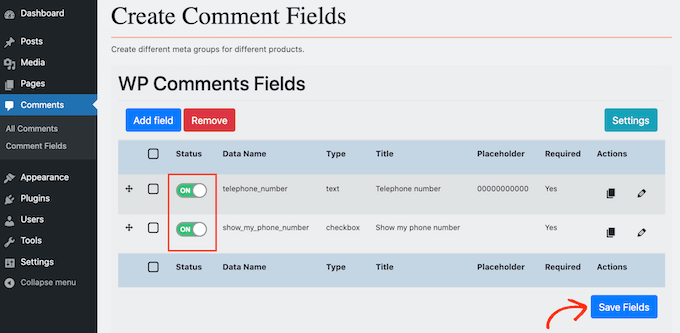
When you’re ready to add a custom field to your comment form, make sure its “Status” slider is set to “On.”
You can then go ahead and click the “Save Fields” button.
If you visit your site now, you will see additional fields in your custom WordPress comment form.
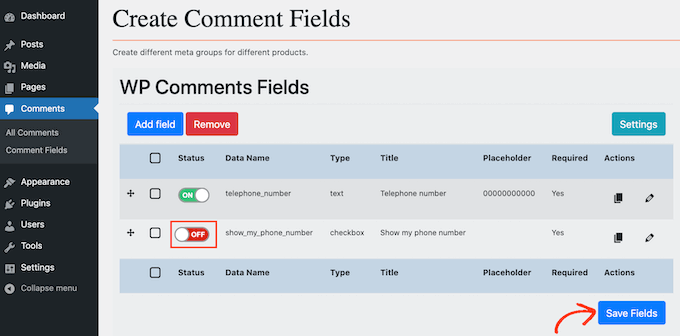
If you ever want to remove a custom field from your comment form, simply return to the Comments » Comment fields.
You can then find the custom field you want to remove and click on its side to reveal a red “Off” label.
Once you’ve done that, just click the Save Fields button.
If you check your site now, you will see that this custom field has disappeared from the WordPress comment form.
We hope this article helped you learn how to add custom fields to a comment form in WordPress. You can also view our guide at best membership plugins and how to create a contact form in WordPress.
If you liked this article, please subscribe to ours YouTube channel for WordPress video tutorials. You can also find us at Twitter and Facebook.
Publication How to add custom fields to a comment form in WordPress first appeared on WP Beginner.
MY NUMBER 1 RECOMMENDATION TO CREATE FULL TIME INCOME ONLINE: CLICK HERE